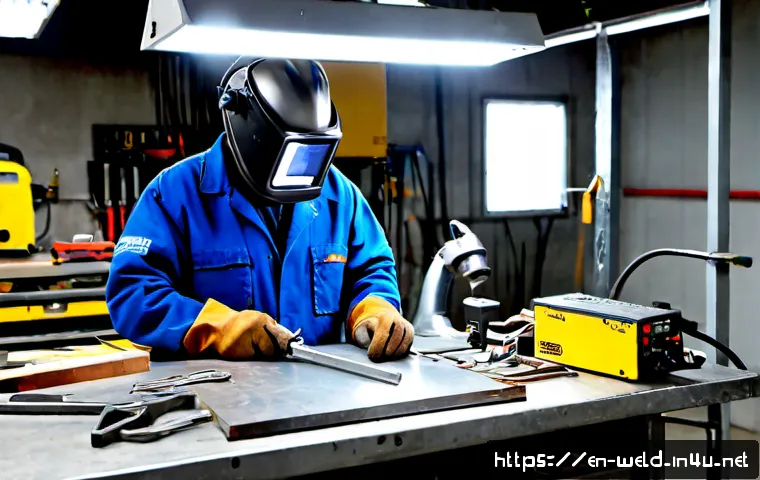
The right tools for a welding practical test usually come down to approved PPE, basic fit-up and inspection tools, and consumables that match the assigned process.
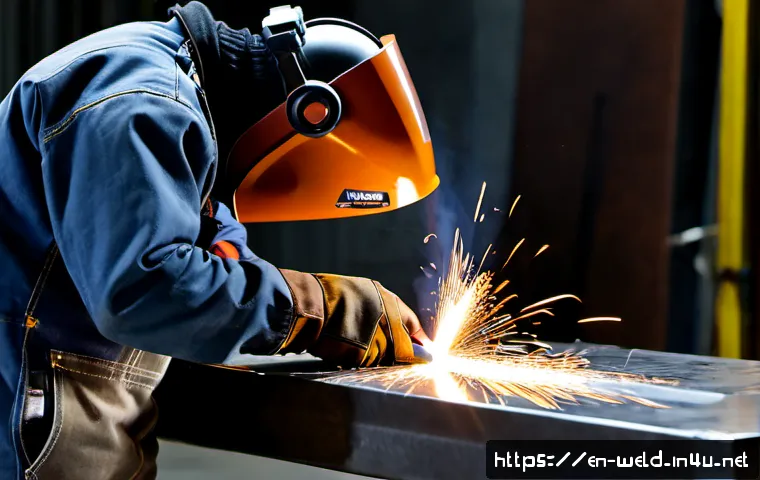
Before packing anything, check exactly what the test provider supplies and what you are allowed to bring. A welding machine, test plates, filler metal, gas, and grinding equipment may be supplied, restricted, or treated differently from one site to another.
The same is true for the welding process, test position, inspection standard, and time limit. Preparing your kit around the written requirements helps you arrive ready without bringing prohibited or unnecessary items.
The sections below break the preparation down into a practical checklist.
Start With the Test Provider’s Equipment List
The provider’s equipment list should be the starting point for every welding test bag. Requirements can differ between training centers, employers, certification bodies, and welding processes. Do not assume that tools accepted during practice will be accepted during the practical test.
Identify Supplied Versus Personal Tools
Ask which items are supplied on site and which must be personal. The site may provide the welding machine, test plates, electrodes, filler metal, shielding gas, grinders, or other equipment, but this needs confirmation. Knowing the division prevents last-minute gaps in your setup and avoids carrying items that will not be used.
Confirm Prohibited Items and Safety Requirements
Review the allowed personal-tool list before test day. Some locations may limit measuring tools, marking tools, cleanup equipment, or personal consumables. Confirm PPE rules as well, including any site-specific requirements for eye, hearing, or respiratory protection. If the inspection criteria, weld procedure, or time limit are not clear, request that information in advance rather than relying on assumptions.
Personal Protective Equipment for Safe Practice
Your protective equipment should be in usable condition and suited to welding work. PPE is not only for the final test; using the same approved gear during practice helps make your setup routine more familiar.
Helmet, Eye Protection, Gloves, and Flame-Resistant Clothing
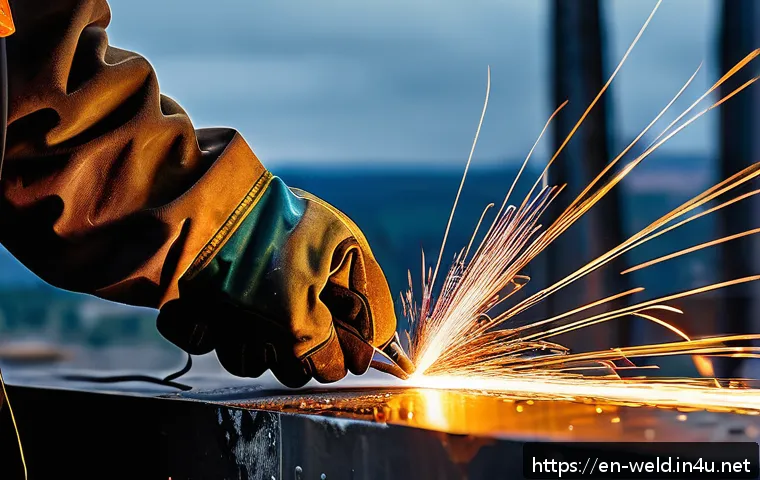
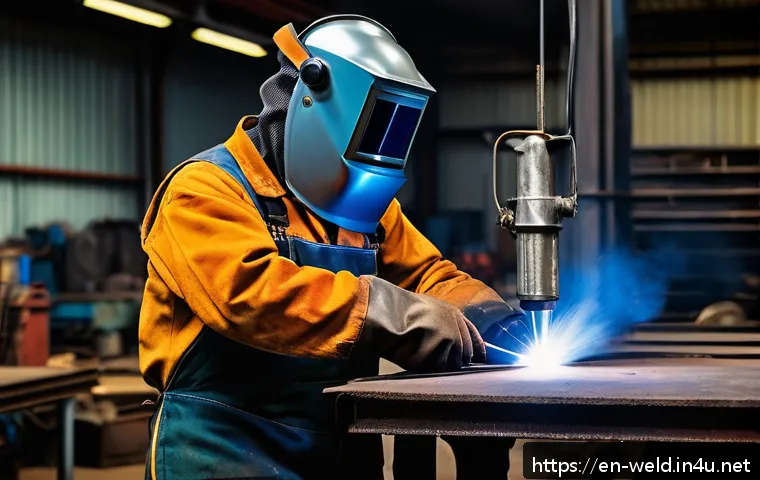
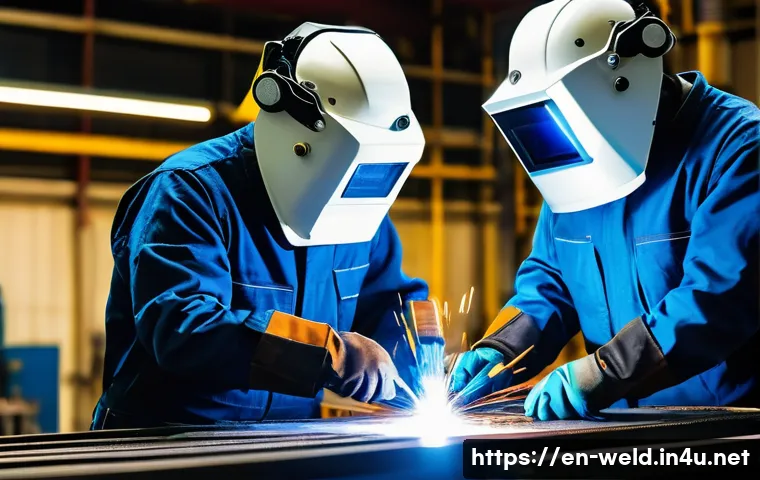
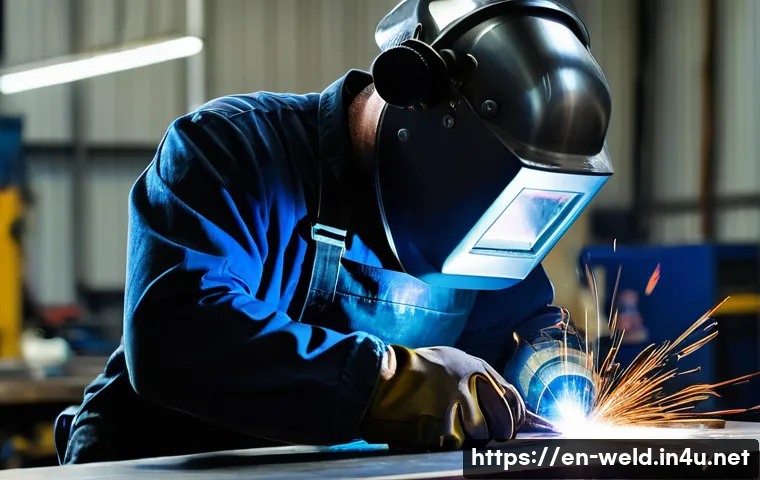
A welding helmet, safety glasses, welding gloves, flame-resistant clothing, and safety-toe boots are commonly expected protective items. Check the helmet lens and headgear before practice so the helmet stays in place and provides a clear view. Safety glasses remain useful when the helmet is raised and during preparation or cleanup. Gloves and flame-resistant clothing should allow controlled movement without interfering with safe handling of hot workpieces.
Footwear, Hearing Protection, and Respiratory Considerations
Safety-toe boots support foot protection in a workshop environment. Hearing protection may be appropriate where grinding or other noisy work is part of the setup, subject to the site’s rules. Respiratory needs can depend on the work area, process, ventilation arrangements, and provider requirements. Confirm what is permitted and required instead of bringing respiratory equipment without checking.
Essential Layout, Fit-Up, and Cleaning Tools
Basic hand tools help you prepare joints accurately and keep the work area organized. The goal is not to bring every tool available. Bring approved items that help you measure, mark, fit, inspect, and clean according to the assigned procedure.
Measuring and Marking Tools
A tape measure, combination square, soapstone, and welding gauge are common choices for layout and inspection. A tape measure helps with general dimensions, while a combination square can assist with alignment and fit-up checks. Soapstone is useful for visible welding marks. A welding gauge may be useful when the test rules permit it and when it applies to the inspection requirements. Keep these tools clean, readable, and easy to reach.
Brushes, Chipping Tools, and Surface-Preparation Equipment
A wire brush is commonly used to clean surfaces and remove residue during preparation or between welding steps where appropriate. Chipping tools and other surface-preparation equipment may be relevant for some processes, but their use depends on the procedure and the site’s permitted-tool rules. Do not substitute aggressive cleanup for careful weld control. If grinders are needed, confirm whether the test site supplies them and whether personal use is allowed.
| Tool group | Common examples | What to confirm |
|---|---|---|
| PPE | Helmet, safety glasses, gloves, flame-resistant clothing, safety-toe boots | Site-specific PPE, hearing, and respiratory rules |
| Fit-up and inspection | Tape measure, combination square, soapstone, welding gauge | Allowed personal tools and inspection method |
| Cleaning and preparation | Wire brush, chipping tools, surface-preparation equipment | Whether grinders or other equipment are supplied or permitted |
| Consumables | Electrodes, filler metal, shielding gas | Process, base metal, joint type, and procedure requirements |
Process-Specific Gear and Consumables

Consumables must match the welding process, base metal, joint type, and procedure requirements. This is an area where a general-purpose purchase can be the wrong choice. The correct item for one test may not be appropriate for another.
Preparing for MIG, TIG, Stick, or Flux-Cored Welding
MIG, TIG, stick, and flux-cored welding each use different equipment arrangements and consumables. For example, electrodes, filler metal, and shielding gas requirements depend on the process assigned. Confirm the exact process before selecting or packing anything process-specific. Also verify whether these materials are provided at the test site. If they are supplied, focus on learning the setup and handling rules rather than duplicating materials unnecessarily.
Pack, Inspect, and Practice Before Test Day
A simple preparation routine can reduce avoidable delays. Pack only approved tools, inspect them before leaving, and arrange them so commonly used items are easy to find. This keeps attention on fit-up and welding rather than searching through a crowded bag.
Build a Simple Tool Checklist
Use a short checklist with sections for PPE, measuring and marking tools, cleaning tools, and process-specific items. Add a separate note for items supplied by the test center. Check each item for condition: a clear helmet lens, usable gloves, readable measuring marks, and a clean wire brush are more useful than a large collection of neglected tools.
Practice Setup, Fit-Up, and Weld Cleanup Safely
Practice the full sequence that the test is likely to require: organize the workspace, put on PPE, measure and mark, prepare the joint, complete fit-up, and clean as permitted. Follow the relevant procedure and safety requirements during practice. Because the tested position, time limit, and inspection criteria may vary, use the provider’s instructions as the final reference.
Closing Thoughts
A welding practical test kit should be deliberate rather than oversized. Start with the provider’s rules, then add approved PPE and the hand tools needed for accurate fit-up and safe cleanup. Match any consumables to the assigned process and procedure, and verify whether the site provides them. A final pre-test check can prevent simple equipment issues from becoming a distraction.
Useful Things to Know
Test sites may differ on supplied equipment, personal-tool permissions, and safety rules. A tape measure, combination square, soapstone, wire brush, and welding gauge are common fit-up or inspection tools. PPE commonly includes a helmet, safety glasses, flame-resistant clothing, gloves, and safety-toe boots. Consumables should always match the process, base metal, joint type, and procedure requirements.
Key Points
Confirm the equipment list first. Bring approved protective gear and basic layout tools in good condition. Verify whether process-specific consumables and equipment are supplied, and follow the test provider’s procedure, inspection criteria, and safety requirements.
Frequently Asked Questions
Q1. What tools should I bring to a welding practical test?
A1. Bring the PPE and personal tools listed or permitted by the test provider. Common items may include a welding helmet, safety glasses, gloves, flame-resistant clothing, safety-toe boots, a tape measure, combination square, soapstone, wire brush, and welding gauge. The exact list depends on the site and assigned test.
Q2. Does a welding test center provide electrodes, filler metal, and shielding gas?
A2. It depends on the training center, employer, certification body, and process. Some sites may supply electrodes, filler metal, shielding gas, machines, grinders, and test plates, while others may have different arrangements. Confirm this before test day.
Q3. What PPE is normally required for a welding skills test?
A3. Common protective equipment includes a welding helmet, safety glasses, flame-resistant clothing, welding gloves, and safety-toe boots. Hearing protection and respiratory protection may also be relevant depending on the work area and site rules, so check the provider’s requirements.